
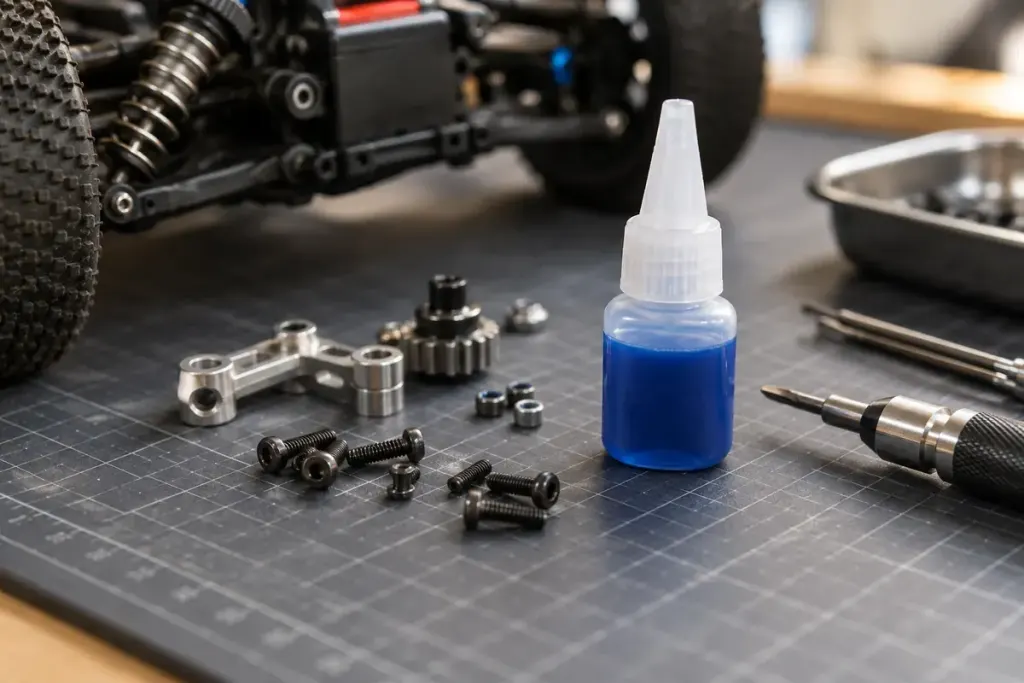
A metal screw passes through a plastic arm into a metal insert. Another similar-looking screw cuts directly into plastic. Applying the same threadlocker to both without checking the joint can create a problem instead of preventing one.
Start with the RC model’s assembly instructions. Identify where threadlocker is specified, which product class is required and which joints should remain free of it. The receiving thread matters as much as the screw’s appearance.
Check the product’s material limits
Read the technical data for the exact adhesive. Many familiar anaerobic threadlockers are intended for metal fasteners; suitability around plastics cannot be inferred from bottle colour. Henkel’s LOCTITE 243 technical data is an example of the product-specific information to consult, rather than a recommendation for every RC joint.
Also consider where excess liquid can travel. A metal-to-metal thread may sit beside plastic, bearings or other parts that should not receive adhesive. Follow the specified quantity and preparation method.
Preserve the intended serviceability
Strength grade and curing conditions affect later removal. Do not substitute a stronger product simply because a fastener once loosened. Check screw length, damaged threads and the assembly procedure first.
For a workshop note, record the joint, the manual’s instruction and the product used. Keep adhesive away from electrical contacts and moving parts unless the manufacturer explicitly specifies otherwise.
Allow the stated cure conditions before running the model. If you are unsure about compatibility, ask the model or adhesive manufacturer rather than testing on an expensive assembled component.
A secure fastener comes from a suitable joint, correct assembly and the right retention method. Threadlocker is one tool in that process, and it works best when its material limits are checked before the bottle is opened.