
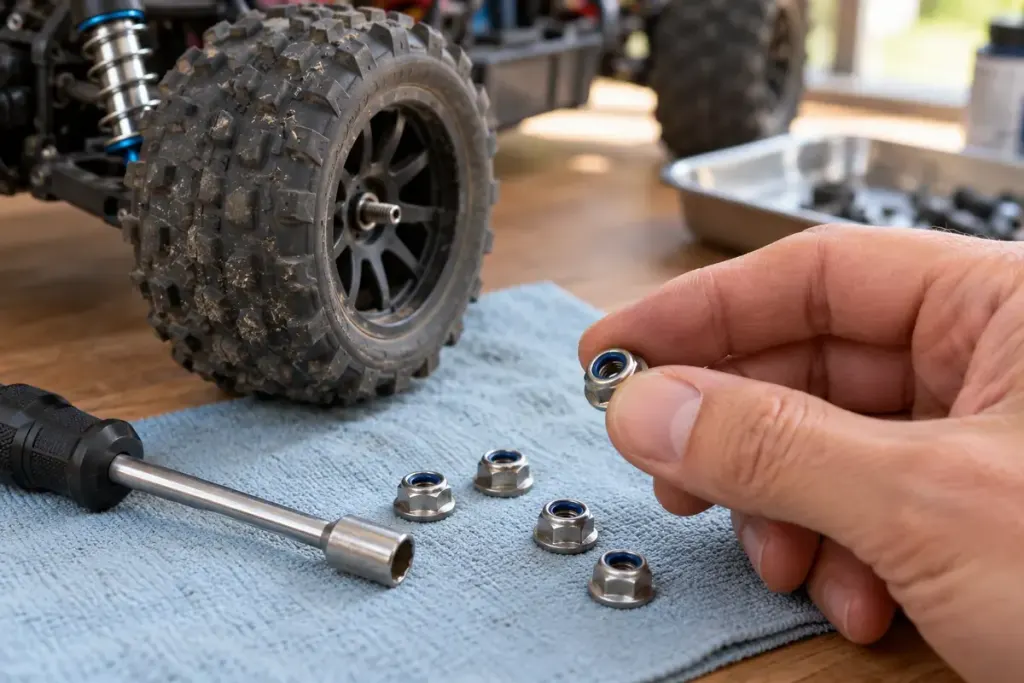
A wheel nut that has the right thread is not automatically the right replacement for an RC car. The original may have a flange, a nylon insert or another locking feature chosen for that wheel assembly. Before reusing a nut from the parts tray, identify what the model’s parts list actually specifies.
For example, the Traxxas Maxx parts list identifies particular flanged nylon-locking nuts. That is a model-specific reference, not a recommendation to fit those nuts to every vehicle. Thread size alone leaves out details that can affect seating and retention.
Inspect the part you removed
With the vehicle switched off and safely supported, clean away loose dirt so you can see the nut. Look for damaged threads, a cracked or displaced insert, a distorted flange and rounded tool faces. Compare the part with a known correct replacement rather than judging it from a distant product photograph.
A nylon insert provides resistance as the compatible thread engages it. Do not treat a nut spinning freely over the axle as proof that it is conveniently broken in. Equally, heavy resistance from the first turn may be cross-threading or contamination. Stop and check alignment instead of forcing it with a longer wrench.
Use the model’s installation instructions
Follow the manufacturer’s tightening guidance and replacement advice. There is no useful universal reuse count for every RC locknut. If the locking feature is damaged or no longer performs as specified, replace the nut with the correct part.
Do not try to restore a worn insert with heat or substitute glue for the specified retention method. Thread-locking compound is not an automatic addition either; suitability depends on the assembly and materials.
After installation, make the wheel checks described in the manual before driving. Keep replacement nuts labelled by model or part number. A small separated compartment can prevent an almost-correct nut from being mistaken for the intended one during a quick repair at the track.