
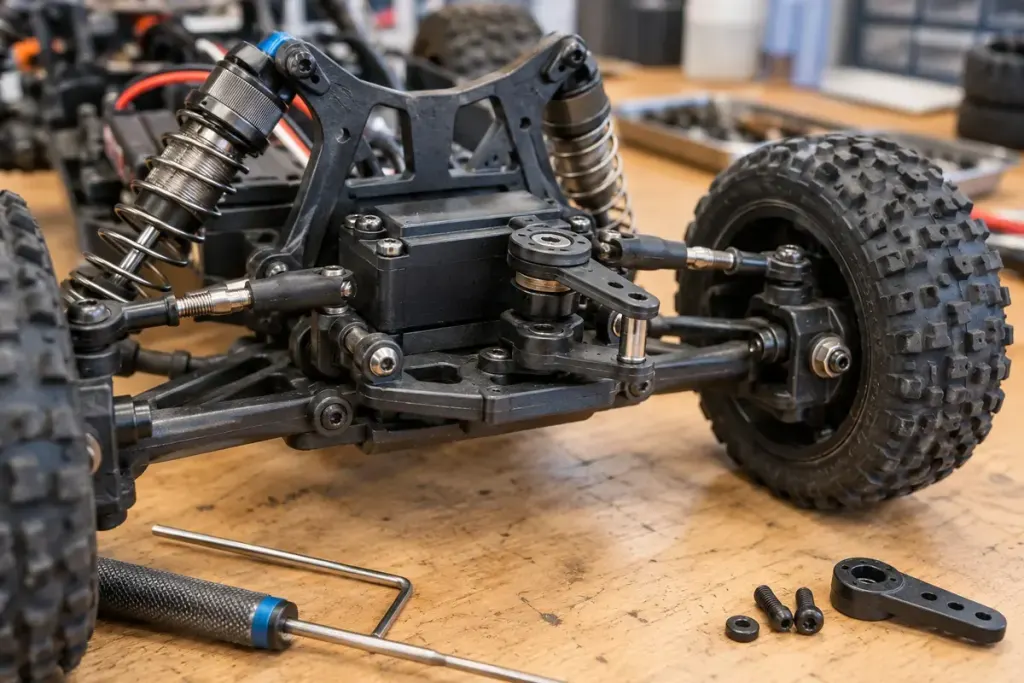
The front wheels respond late, so tightening the servo saver seems like an obvious cure. First check where the movement is being lost. A protective spring, a loose fastener and a worn joint are different things, even when all three can make steering feel vague.
Manufacturers match servo-saver parts to particular assemblies and servos. For example, ARRMA’s extra-hard servo-saver spring is specified for high-strength servos and describes a trade-off between protection and steering response. It is not a general instruction to install the stiffest spring in every car.
Inspect the mechanical path first
Switch the model off, disconnect its drive battery and follow the manual’s preparation instructions. Check accessible linkage joints, mounting screws and the saver assembly for obvious damage or looseness. Avoid forcing the wheels against a servo or dismantling a spring-loaded unit without its instructions.
Trace the path from the servo output through the steering links to the wheels. Note exactly which connection moves before the next one follows. A short close-up video can help a hobby shop identify a problem, provided the model is supported safely and powered tests follow its manual.
Return to the specified baseline
Use the correct exploded diagram and part numbers. If the saver is adjustable, record its current setting and restore the manufacturer’s recommended starting point before making controlled changes. Some designs are not intended to be adjusted in the same way as others.
Replace a damaged or worn connection with the specified part. Tightening a protective spring cannot restore material missing from a worn pivot. Locking the saver solid may also remove the protection it was installed to provide.
After the mechanical fault is resolved, test steering at low speed in a clear area. Keep the repair note specific: which joint was loose, which part changed and what the test showed. That is a better basis for the next adjustment than remembering only that the steering felt soft.