
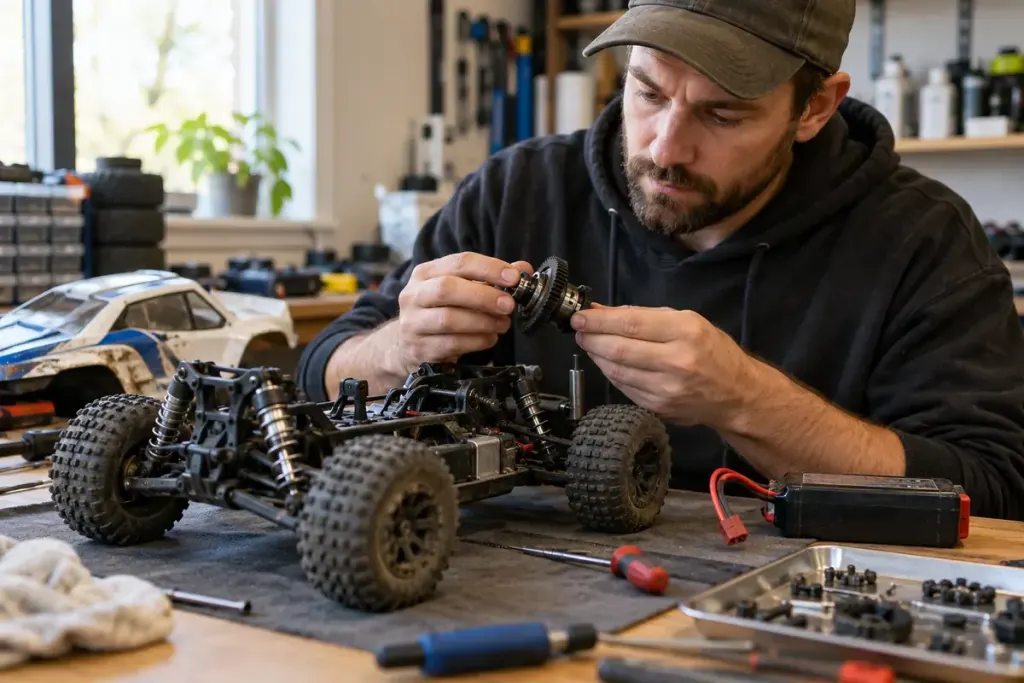
A friend recommends “half a turn” on the slipper clutch. Before touching the adjustment, ask half a turn from what baseline, on which model and with which drivetrain. Without that context, the number is not a usable setting.
Traxxas’s adjustment guidance explains the role of an adjustable slipper on equipped models. Use the owner’s manual for your exact vehicle and version to identify the mechanism, initial setting and test procedure. Not every RC vehicle has the same arrangement.
Start with identification
Record the model, motor and any relevant drivetrain modifications. Find the correct manual and exploded view. If you cannot confidently distinguish the adjustment from neighbouring fasteners, ask a knowledgeable technician before proceeding.
Power the vehicle down and disconnect its battery before maintenance, following its instructions. Let hot components cool. Keep fingers, hair and loose clothing away from moving parts; do not inspect an exposed drivetrain while applying throttle.
Establish a repeatable baseline
Follow the manufacturer rather than an unsupported universal turn count. Record the starting setting and make only the permitted adjustment. A large change made without notes can make it difficult to tell whether a later symptom comes from the original problem or your intervention.
Use the specified controlled test procedure in a suitable clear area. If performance remains abnormal, stop and investigate wear, incorrect assembly or another fault through the manual’s troubleshooting process. Repeatedly tightening the clutch is not a diagnosis.
In an illustrative maintenance log, note the surface, vehicle configuration, adjustment and observed result. Avoid changing tyres, gearing and clutch setting simultaneously if your aim is to understand which change produced the difference.
When the session is complete, reinstall guards and covers as directed. Keep the successful setting with the vehicle record, including the conditions under which it was checked. That gives your next adjustment a real starting point instead of another remembered fraction of a turn.